
Gluten Free Sourdough Bread Recipe
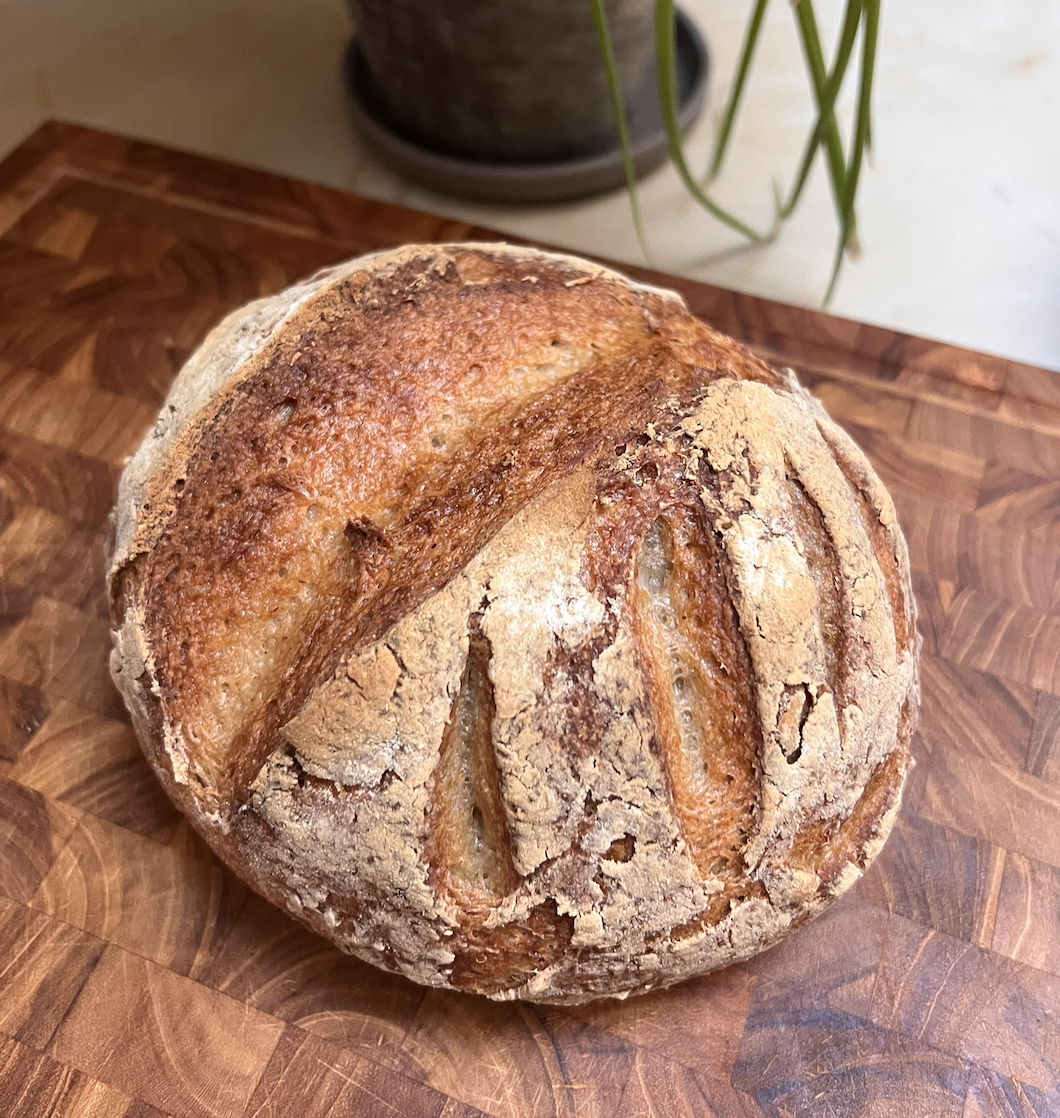
The best gluten free bread you’ll ever have.
Looking for a truly crusty, chewy, and flavorful homemade artisan sourdough loaf that is completely gluten-free? This recipe utilizes precise measurements and an overnight cold proofing method to achieve a bakery-quality texture and rich, tangy flavor. Say goodbye to gummy, flat gluten-free breads—this guide gives you the steps for a successful rise and perfect crumb every time.
Essential Equipment You’ll Need
Creating your starter is a simple process, but precision is key for success when working with a brown rice starter.
Ingredients:
Active Gluten Free Sourdough Starter (instructions and recipe here)
Digital Kitchen Scale: This is essential for accurately weighing your ingredients in grams.
Large mixing bowl
Dutch oven or bread oven: essentially a heavy-bottomed pot with a lid to effectively trap steam.
Parchment paper
A sharp knife or scoring blade
Dough whisk or stand mixer with dough hook attachment
Ingredients (Measured by Weight)
Wet:
150 g active gluten-free sourdough starter (about ½ cup)
400 g warm water (1 ⅔ cups)
20 g olive oil (1 ½ tsp)
10 g honey or maple syrup (optional, 2 tsp)
Dry:
400g gluten free flour blend (without xanthan gum or any other binders)
If you cannot find a gluten free flour blend without any binders, you can make your own with a mix of gluten free flours. Try a ratio of 50% brown rice flour, 20% sorghum or millet flour, 15% buckwheat flour, and 15% tapioca starch or arrowroot flour.
Example Flour Blends (All totaling 400 g)
Classic, Balanced
200 g brown rice flour
80 g sorghum flour
60 g tapioca starch
60 g buckwheat flour
Rice-Free
200 g millet flour
80 g light teff flour
60 g arrowroot starch
60 g buckwheat flour
Whole-Grain Forward
200 g millet flour
80 g sorghum flour
60 g tapioca starch
60 g amaranth flour
20 g psyllium husk powder (2 tbsp)
10 g salt (1 ¾ tsp)
Instructions
Make Psyllium Gel: In a large bowl, whisk the 400 g warm water, 20 g psyllium husk, 20 g olive oil, and 10 g honey together. Whisk until the mixture becomes thick and gel-like (about 1 minute). Let it rest for 5 minutes.
Add Starter: Stir in the 150 g of active sourdough starter until it is fully smooth and incorporated into the gel.
Add Flours: In a separate bowl, thoroughly mix all of the dry flours and the 10 g of salt. Add this dry mixture to the wet mixture and stir until fully combined (3–5 minutes). The dough should be thick and sticky.
Bulk Fermentation: Cover the bowl and ferment the dough at 75–80°F for 4–8 hours, or until the dough has risen approximately 40–50% in volume and bubbles appear on the surface.
Shape & Cold Proof: With wet hands, gently shape the dough into a round on a piece of parchment paper. Place the shaped dough, seam-side down, in a lined bowl (or banneton). Cover and refrigerate for an overnight cold proof (8–16 hours).
Preheat & Bake: Preheat your oven to 450°F (232°C) with a Dutch oven inside for a minimum of 45 minutes. Carefully transfer the cold dough on the parchment paper into the preheated Dutch oven. Score the loaf (make a deep cross or single slash).
Bake Covered: Bake the loaf covered for 45 minutes.
Bake Uncovered: Remove the lid and bake for an additional 20–25 minutes, or until the crust is deep golden brown.
Cool: Cool the loaf completely on a wire rack for at least 2 hours before slicing. Do NOT skip this step!
Pro Tips
Steam is Key: Baking in a Dutch oven traps steam, which is essential for a beautiful crust and better oven spring.
Flavor Development: The overnight cold proof significantly improves the depth of flavor and makes the dough easier to handle and shape.
Controlled Oven Spring: Use a deep, sharp score (with a razor blade or lame) to control where the loaf expands during baking.